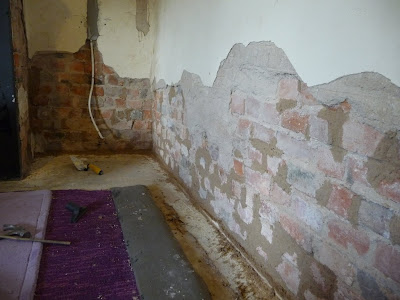
Here is a "before" picture (with the couch and everything removed, of course).
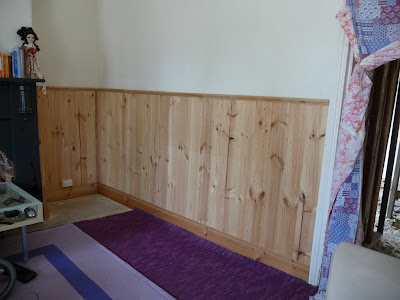
Don't worry, Marty puts his shoes on soon after this shot was taken. :)
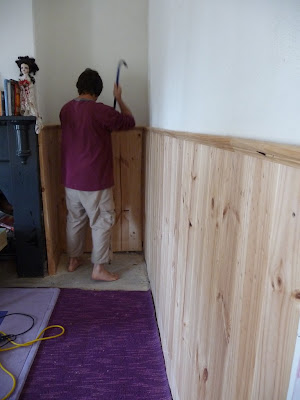
See? Anyway, the wood panelling was screwed and glued onto the plaster. It wasn't too difficult to remove.
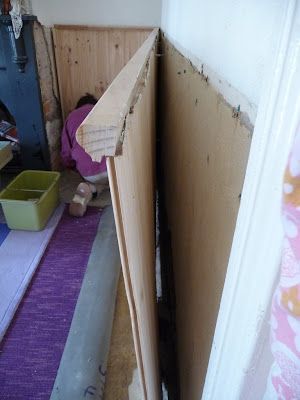
Unfortunately, this is what we found underneath. The previous owners decided that instead of fixing the obvious rising damp issue, they would cover it with wood panels instead. (We're still a little upset over this one!)

The new vacuum cleaner came in handy, there was a lot of mess to clean up!
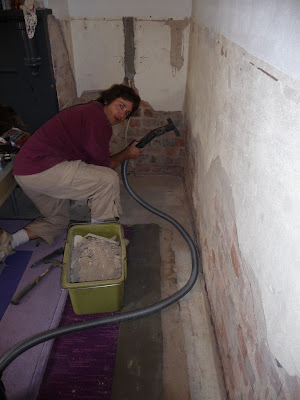
Here are just a few of the holes. Notice the concrete floor is cracked and has dropped. That will be a job for another day, though!

We mixed up a batch of mortar to plug the holes. Don't worry, no concrete or cement - just plain old lime and sand in this mix. We're not expecting it to last a lifetime, though - just long enough to keep the mice out before we can do this room properly.
The dark spots show where we've repaired the wall. You may have also noticed the concrete above the power-point? Marty and I can strongly recommend NOT putting concrete anywhere near 100 year old bricks. I can't imagine how we'll get that off without breaking the soft old bricks underneath.. (carefully? ha!) Again, a job for another day.

The wood panels will be useful for something else around the Old Miners Cottage. We reuse just about everything here - even some of the dreaded concrete floor has been used as stepping stones in the garden beds!
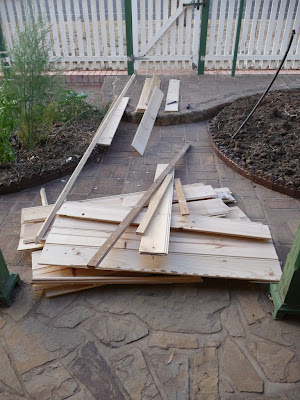
Although, the bucket full of old mortar and render will most likely be broken-down into dust. :)

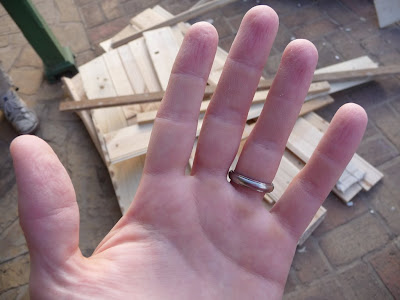
A useful tip for next time - when working with lime, always wear gloves. We didn't consider this, and our hands have lost some of their original lines! Oops.
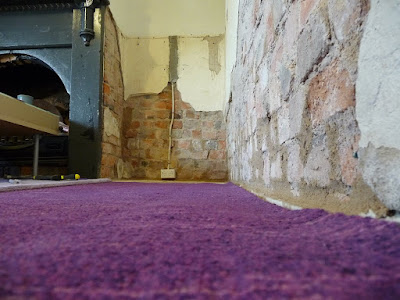
This is the "after" shot - cleaner and pretty much what it looks like now, except we've got a couch there and the computers too. :)
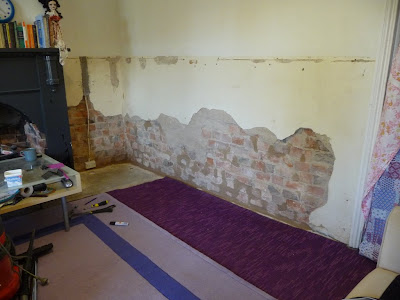
A mouse-eye-view.. hmm, a little more difficult now, huh?
We are on the search for a supplier of quick-lime for the next job. The lime we used will be ok for this job, but next time we'd like to make a even better mix. Of course, we'll be wearing gloves. :) Otherwise, I'd say the job turned out pretty well for our first attempt. We're feeling a little more confident about the much bigger job of the two demolished rooms now.
O my goodness -the solution to one problem turns out to be another problem. Mind you, I hate mice, so ripping the wall out to get at them is quite understandable.
ReplyDeleteI enjoy your blog and watching your progress.
The garden is coming along too!
Wow, you two never cease to amaze me. Just rip off the paneling and make repairs. Looks like you did a real nice job of it too. I'm also glad you uncovered those old brick walls.
ReplyDelete